You can transform your kitchen into a more functional, stylish space without blowing your budget by focusing on smart planning, efficient layouts, and targeted upgrades. Prioritize the work triangle, storage solutions, and durable finishes to get the biggest impact for your time and money.
This post Kitchen Remodeling walks you through practical steps for planning a kitchen renovation and shows how to balance function and design so your kitchen works better for daily life. Expect guidance on kitchen remodel layout choices, cabinet and countertop options, and small changes that deliver big returns.
Planning a Kitchen Renovation
You’ll define budget limits, decide whether walls or plumbing move, and choose durable finishes that fit your daily use and style. These decisions determine timeline, contractor needs, and how much of the project you can do yourself.
Setting a Budget
Start with a firm top-line number and break it into categories: labor, cabinetry, appliances, countertops, plumbing/electrical, permits, and a 10–20% contingency for surprises. Track quotes from at least three contractors and compare line-item estimates rather than final totals to spot where savings or overruns occur.
Decide which items you must replace versus what can be refinished. For example, prioritize a high-quality sink and reliable range if you cook daily, but refinish cabinets if their boxes are sound. Allocate more to plumbing and electrical when moving fixtures or adding an island with power.
Use a simple table to keep clarity:
| Category | Typical % of Budget |
| Labor/Contractor | 30–40% |
| Cabinets | 20–35% |
| Countertops | 10–15% |
| Appliances | 7–12% |
| Plumbing/Electrical/Permits | 5–10% |
| Contingency | 10–20% |
Determining Layout Changes
Pin down whether you’ll keep the existing work triangle (sink, stove, fridge) or reconfigure it. Moving plumbing or load-bearing walls increases cost and time substantially, while swapping appliances in place is relatively cheap and fast.
Sketch a layout to scale and test traffic flow: leave 36–48 inches of aisle space in main work zones and at least 42 inches for galley kitchens with multiple cooks. If you add an island, ensure 42–48 inches clearance around it for appliance doors and seating. Confirm electrical panel capacity and plumbing access before committing to major changes.
Selecting Materials and Finishes
Choose materials based on wear patterns and maintenance, not just aesthetics. For countertops, quartz resists stains and needs no sealing; natural stone needs sealing but offers unique veining. For floors, vinyl or porcelain tile withstands moisture and heavy foot traffic better than hardwood in high-use kitchens.
Match cabinet construction to expected lifespan: solid-wood face frames and plywood boxes hold up longer than particleboard. Pick finishes that hide fingerprints and water spots if you have kids or pets—matte or textured surfaces perform better than high-gloss. Create a small sample board of countertops, cabinet door, and floor next to each other under your kitchen light to confirm color and texture compatibility.
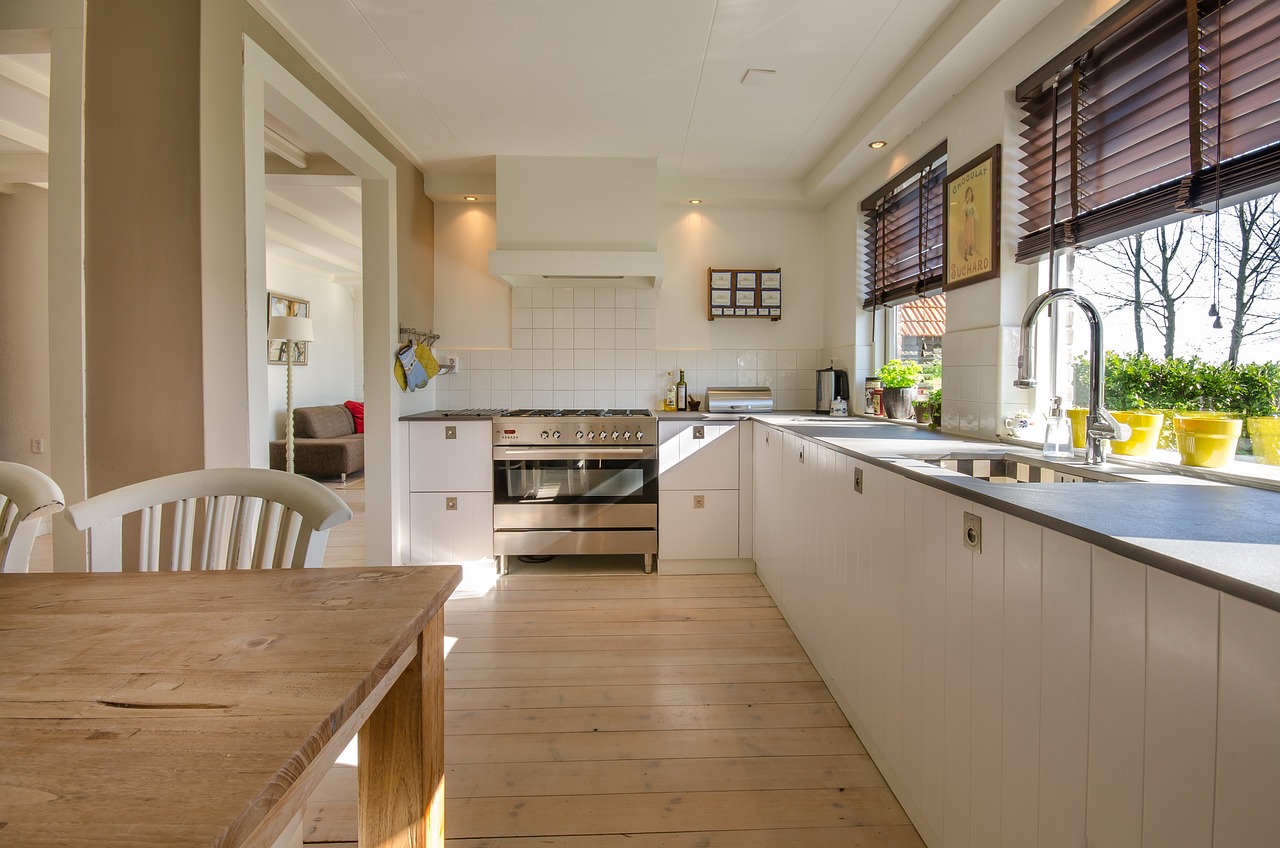
Enhancing Functionality and Design
Design choices should make daily tasks faster and storage more accessible while improving the room’s visual flow and light. Prioritize layouts that reduce steps between sink, stove, and refrigerator; choose durable surfaces where you cook and prep most.
Optimizing Storage Solutions
You need storage that fits how you cook and stores what you own. Install deep drawers for pots and pans, with removable dividers to keep lids upright and nested cookware separated. Use full-extension, soft-close slides so you can see and reach items in the back without bending or hunting.
Add vertical organizers for baking sheets and cutting boards beside the oven for quick access. Pull-out pantry units maximize narrow spaces and keep canned goods and spices visible at eye level. Consider a dedicated drawer for utensils and a shallow tray near the prep zone for spoons and frequently used tools.
Use corner solutions—lazy Susans or pull-out corner carousels—to avoid dead space. Overhead cabinets should reach the ceiling if you rarely need top-shelf access; otherwise add crown molding and a step stool stored in a cabinet. Label opaque bins to speed retrieval and keep similar items together.
Choosing Smart Appliances
Select appliances that match your habits to save time and energy. If you bake often, choose a convection oven with precise temperature control and multiple racks. For frequent meal prep, a 36-inch range or dual-fuel range gives capacity and professional-style performance.
Prioritize dishwashers with adjustable racks and tall-tine settings for pots, plus a quick-wash cycle for light loads. Choose a refrigerator with adjustable shelving, a deli drawer, and a humidity-controlled crisper to reduce food waste. Look for ENERGY STAR ratings to cut utility bills without sacrificing performance.
Integrate smart features only where they add convenience: app control for preheating, a connected oven that suggests cooking times, or a refrigerator camera to check contents remotely. Avoid unnecessary platform lock-in—choose devices that support common smart-home standards so you can mix brands.
Maximizing Lighting Options
Task lighting must be bright and shadow-free where you prep and cook. Install under-cabinet LED strips or puck lights with a color temperature around 3000–4000K to render food colors accurately and reduce eye strain. Place lights directly over work surfaces rather than relying solely on ceiling fixtures.
Use layered lighting: recessed ceiling lights for general illumination, pendant lights over islands for targeted light and style, and toe-kick LEDs for safe nighttime navigation. Add dimmers to control brightness for different tasks and moods.
Consider light placement with finish choices: reflective backsplashes and quartz countertops amplify available light. If you have natural light, position the sink or prep area near windows to combine daylight with task lighting for the best visibility.